Buschman's Clutch Bleed Method
This is the clutch bleed method I came up with when installing my
McLeod Master Cylinder. Other than the M/C itself the tools I needed
where: Your Old Slave Cylinder, Dremel tool, GM OEM Spec Brake fluid
(only one bottle was needed, but much recycling took place), Mity Vac
Pump, Zip Tie, Small Rubber Washer.
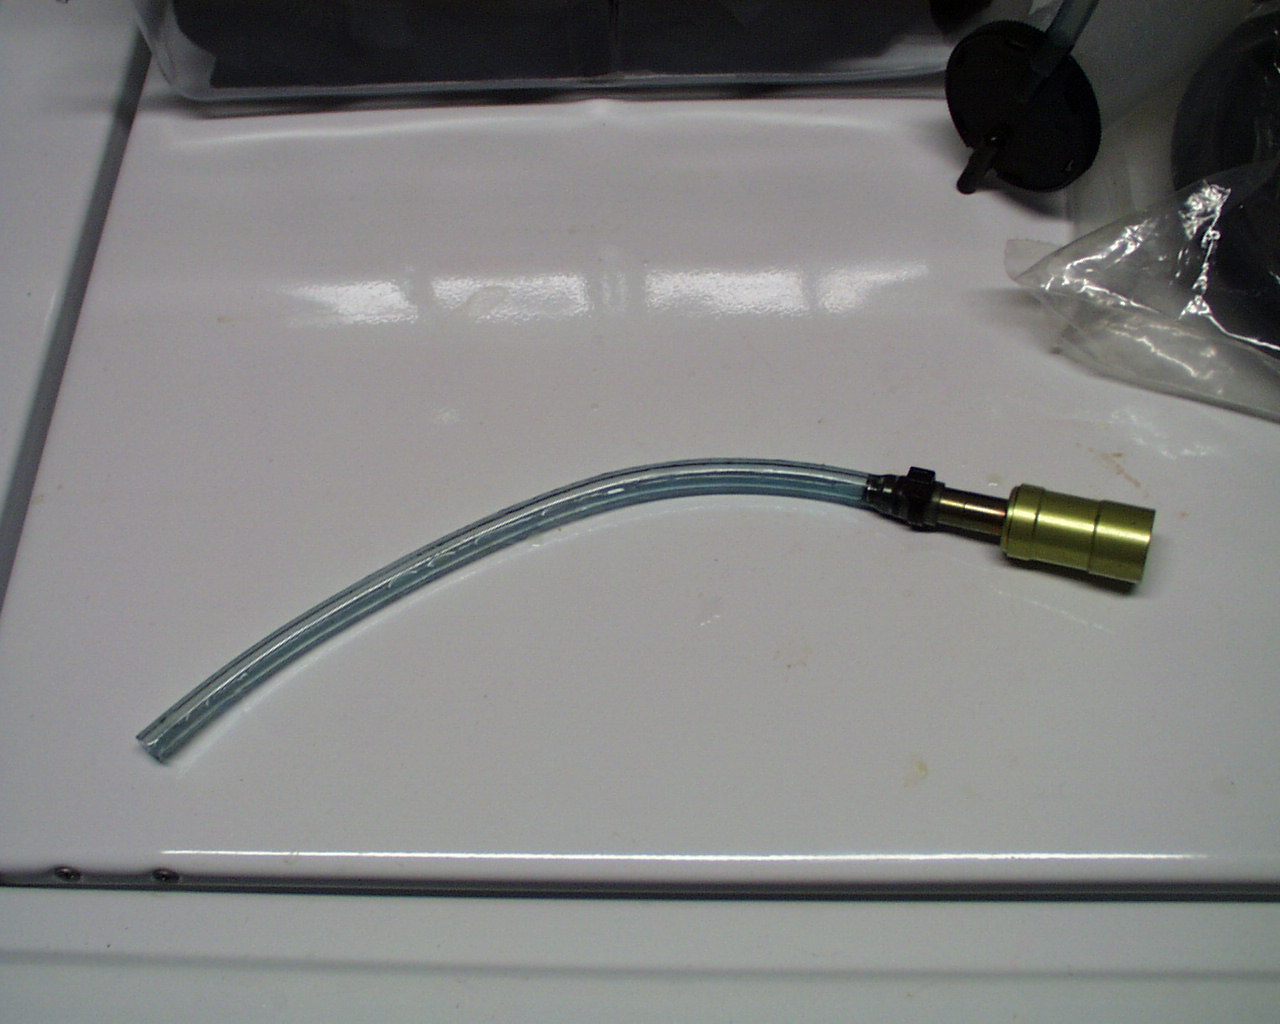
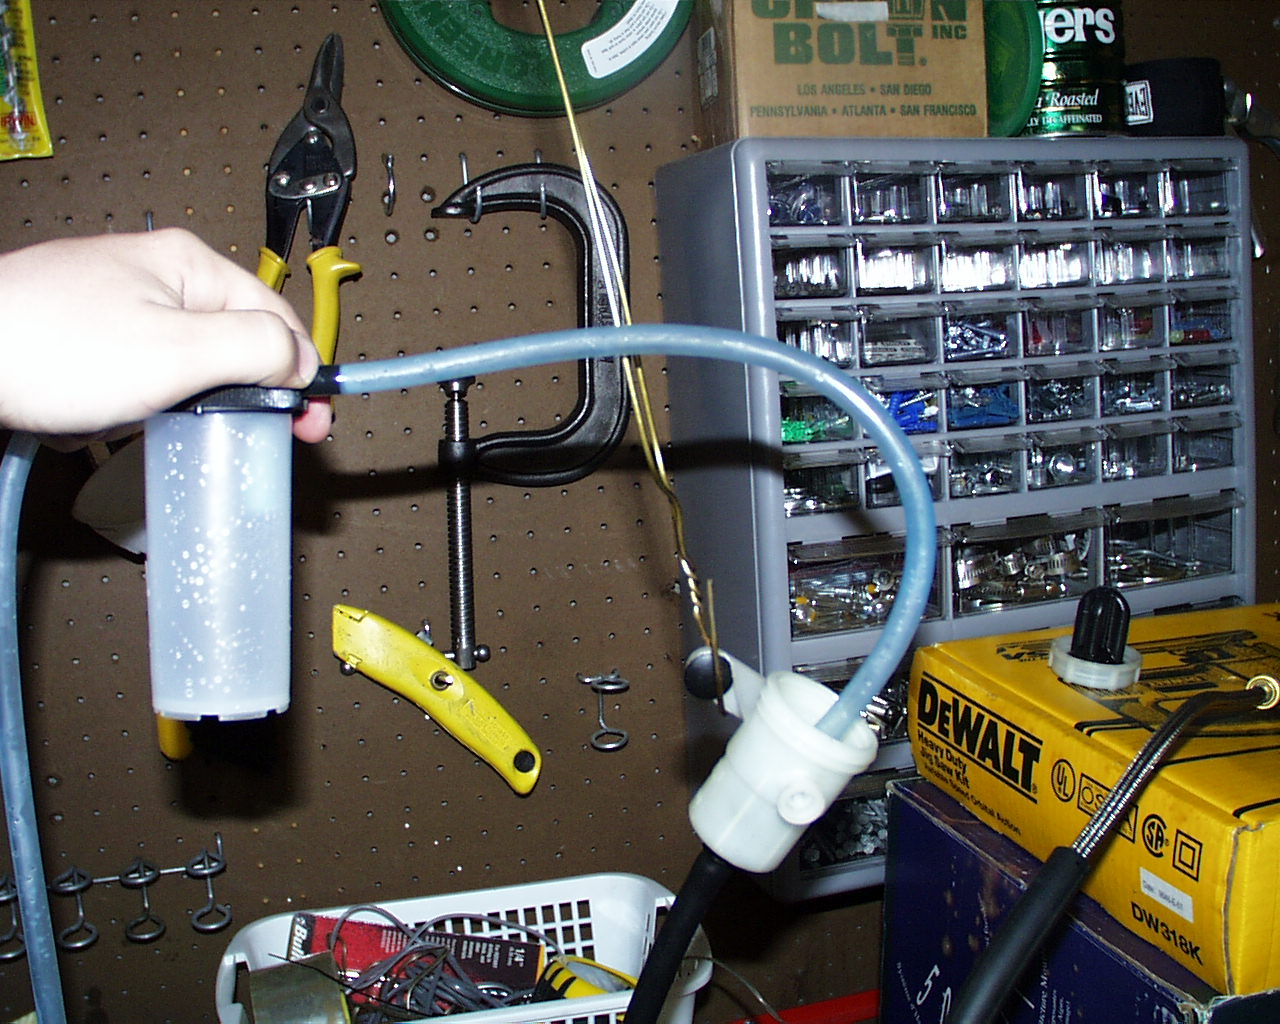
Ok the first thing I did was to create this little helpful tool. I’ll
call it a slave sim. Cause basically it’s job is to act like the slave
cylinder, open up the hydraulic valve, and allow me to pull the fluid
through the Master cylinder in the direction of the slave cylinder.
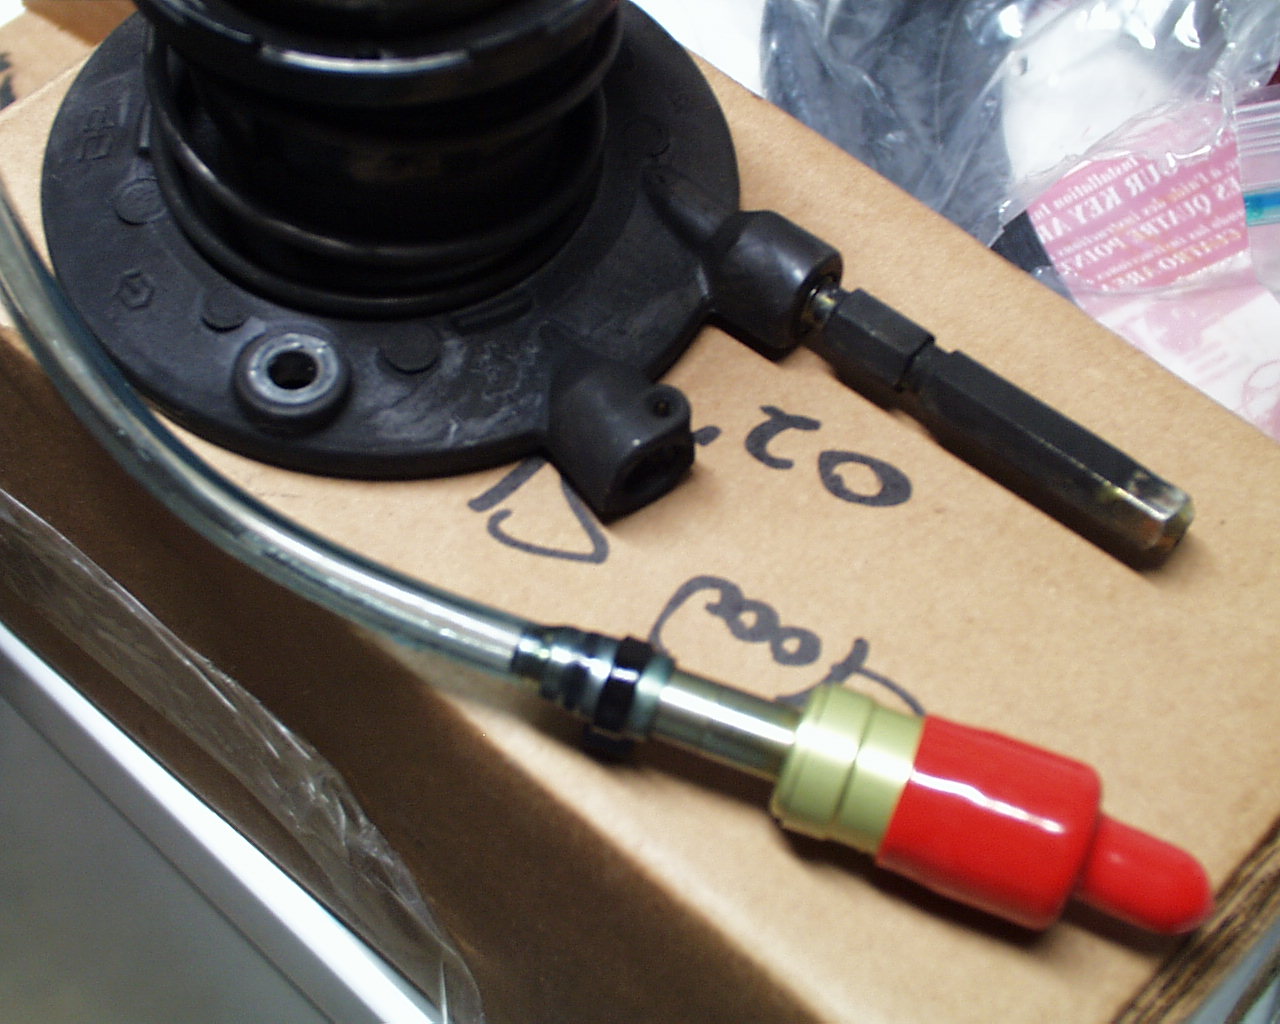
I basically removed the female end of the Slave’s hydraulic connection
by removing the pin (same pin setup as the M/C) and the connector slid
right out. ***Not that you need it for this clutch bleed but if you
happen to tear your M/C washer you will find the exact same sort of
washer sealing the Slave’s female connector. So you might want to store
it somewhere just incase.***
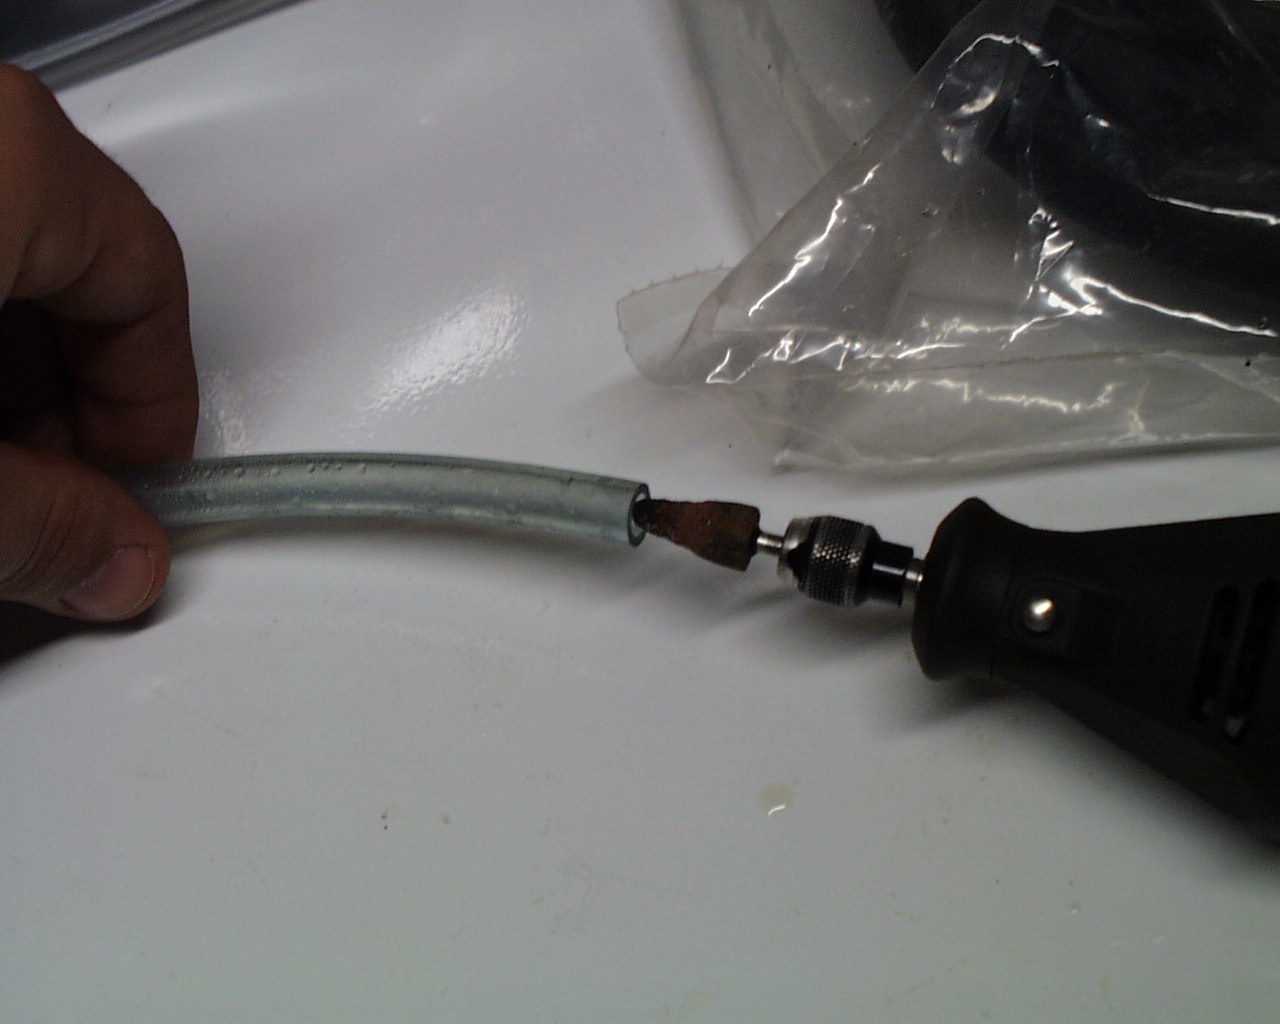
Save yourself a half hour of frustration and Dremel out the inside of
the tubing. It will make slipping the tube over the Slave's hydraulic
connector so much easier. Be sure to clean out any and all loose rubber
if you do Dremel the inside. I put just a little bit of grease around
the tube to help slip it on.
I placed a small rubber washer in the gap of the female connector. Not
so much to seal the tube but just to help get the tube past that gap.
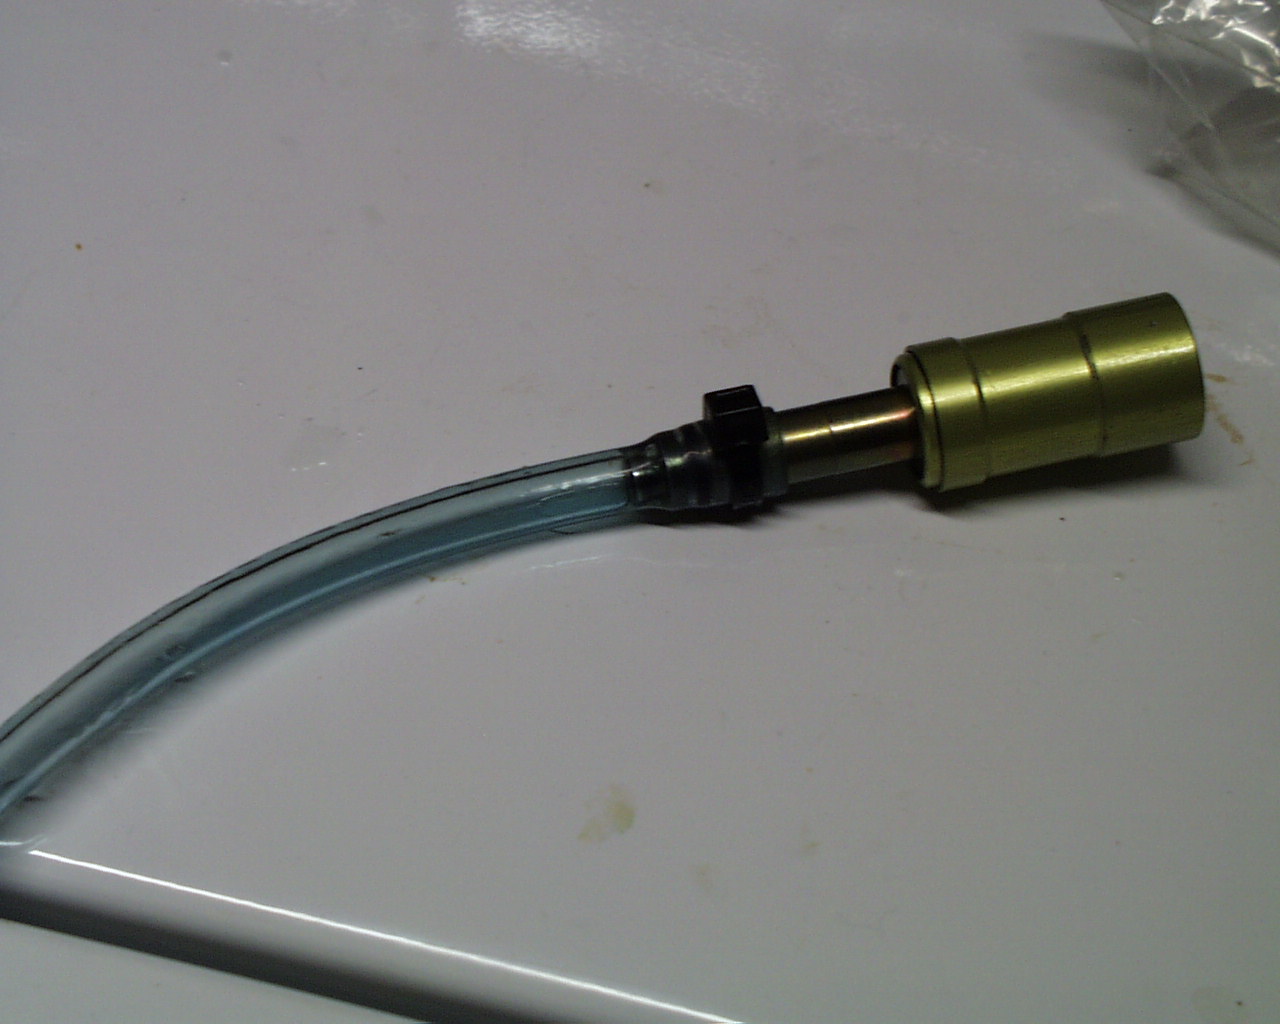
The tubing came straight from the Mity Vac kit I got. I just cut one of
the longer tubes in half. They are the perfect size for this job. Once
the tube is on securely, zip tie it and you’ll have an airtight seal.
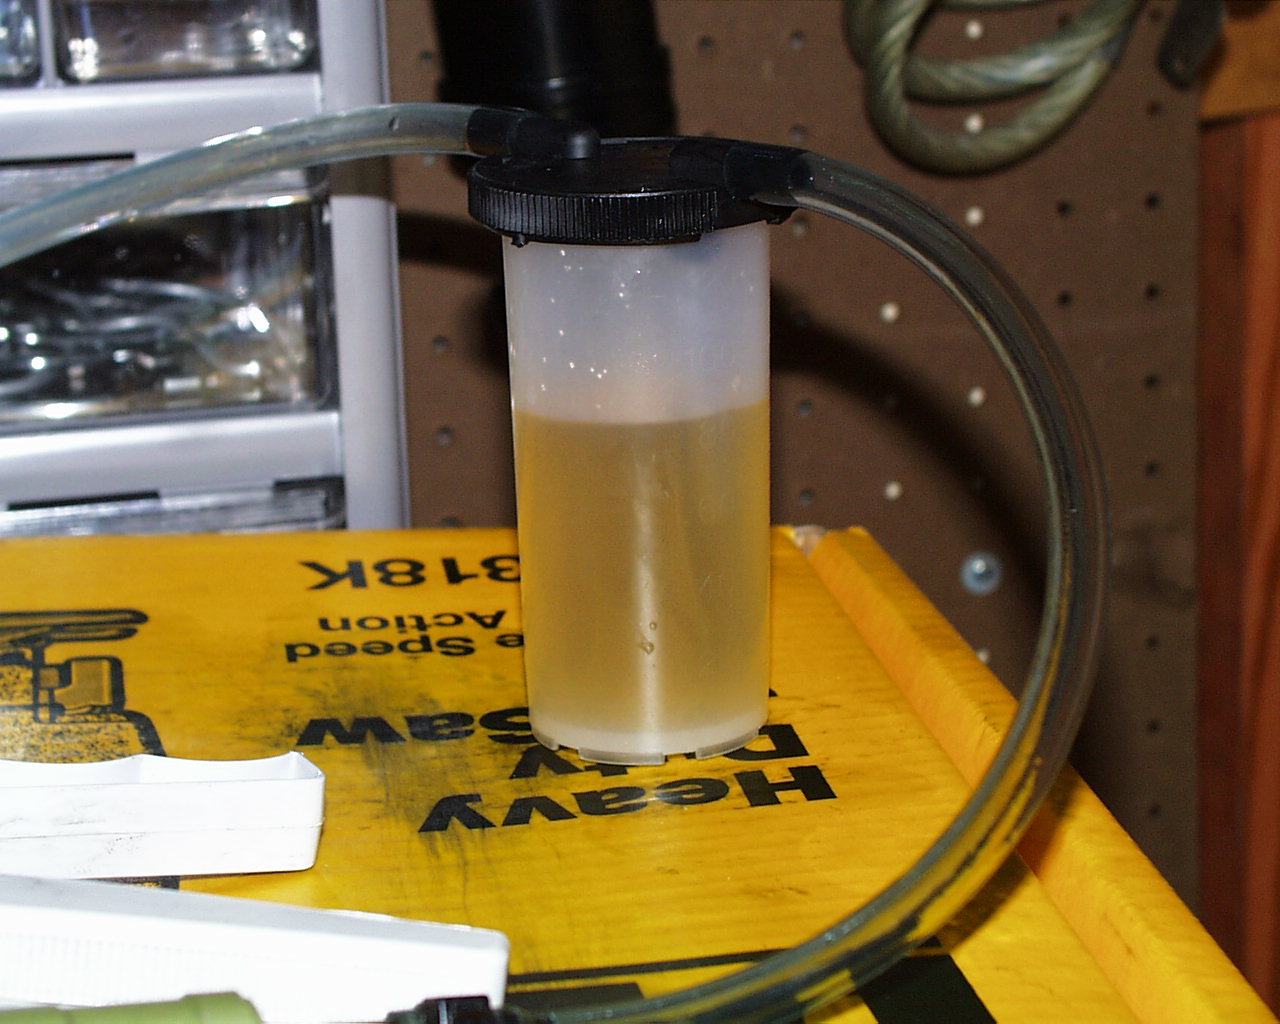
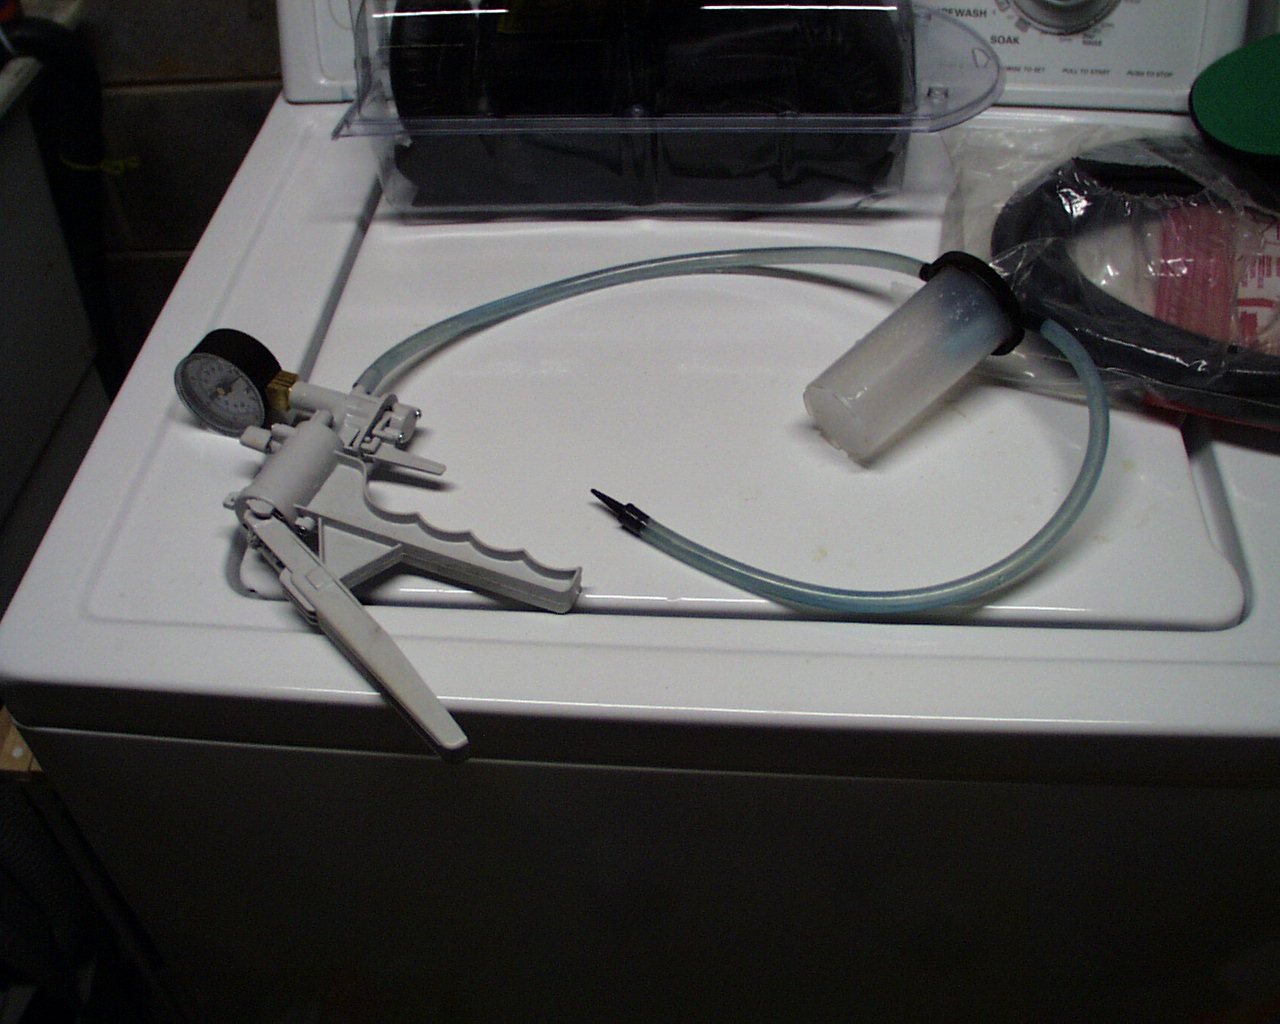
Here you’ll see the M/C setup to be bleed. Forgive me for using a stock
M/C in my pictures, but the McLeod is in and working. I’m certainly not
gonna rip it out to take pictures of it. :p
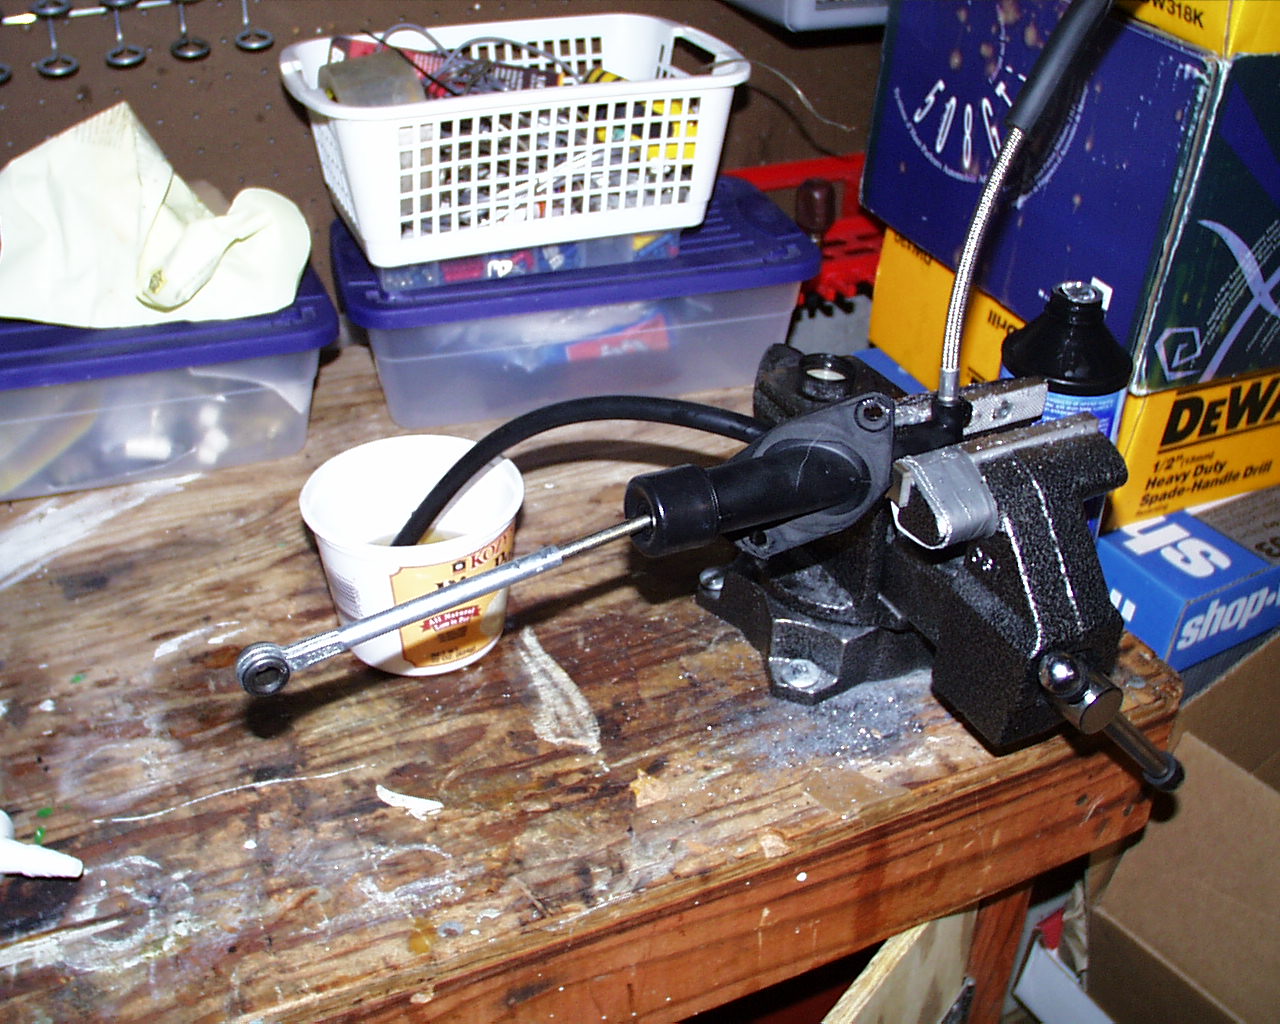
So I’ve mounted the M/C horizontally in the vise. I’ve removed the
reservoir, but left the reservoir tube and ran it into a plastic
container filled with brake fluid. Be sure to keep the brake fluid
level above the tube opening at ALL TIMES! Otherwise, you’ll suck air
back into the system and have wasted all the time you just spent
bleeding.
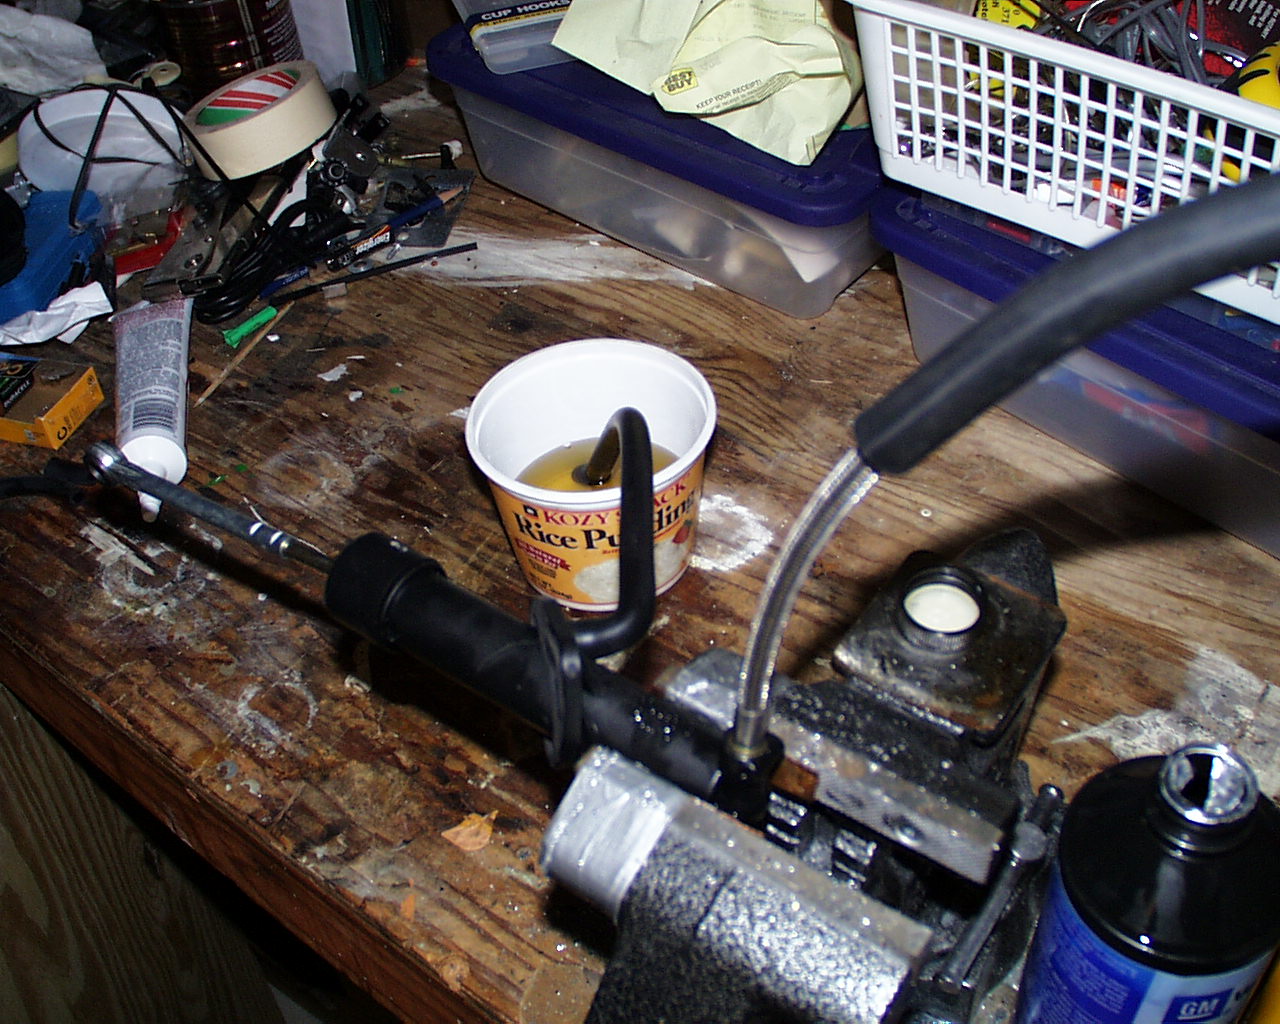
Now I have the hydraulic line running upwards to help the air get out
of the system. This is probably overkill since the Mity Vac is sucking
the air out, but it isn’t hurtin either. As you can see from the
picture, I have my slave sim connected to the hydraulic line and
running into the Mity Vac’s vacuum container.
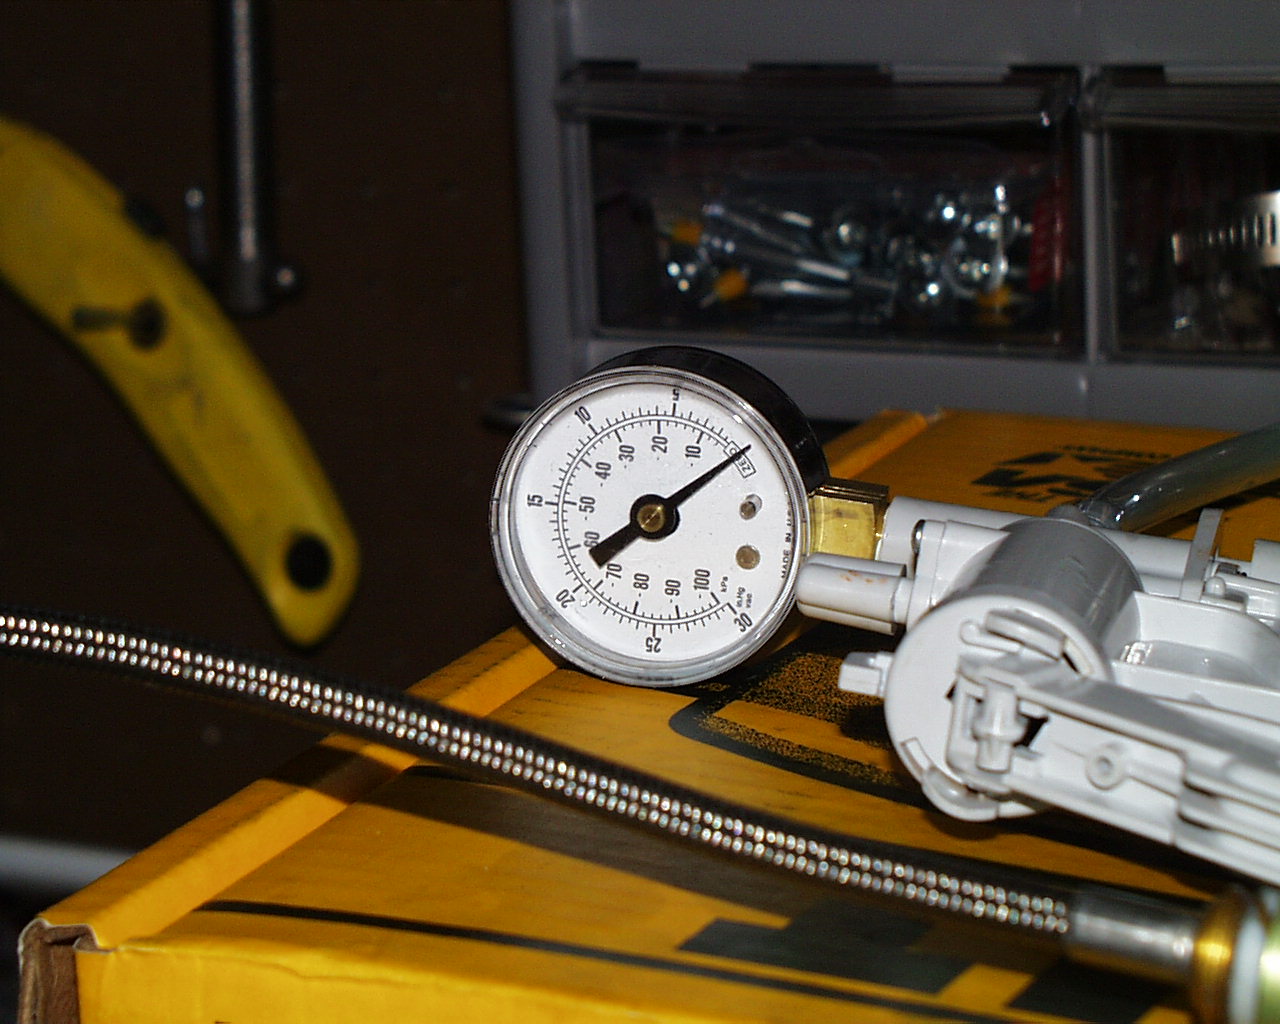
The first step is simple. Pump up the Mity Vac to 5 psi and let the
pump pull out the air and fluid. Obviously when your Mity Vac’s
container get near full empty it into the plastic container that feeds
the reservoir tube. Continue to go through this cycle until you don’t
see any more air being removed. Then, go up to 10 psi. Repeat the cycle
until there are no more bubbles. Then go to 15 and then 20 psi. Every
time you bump up you’ll magically see more air. At 20 psi you might
notice the bubbles start to aerate a little bit (kinda looks like soap
suds if you’re not familiar). Don’t worry about those; we’ll get those
later. Just try and eliminate the normal air bubbles.
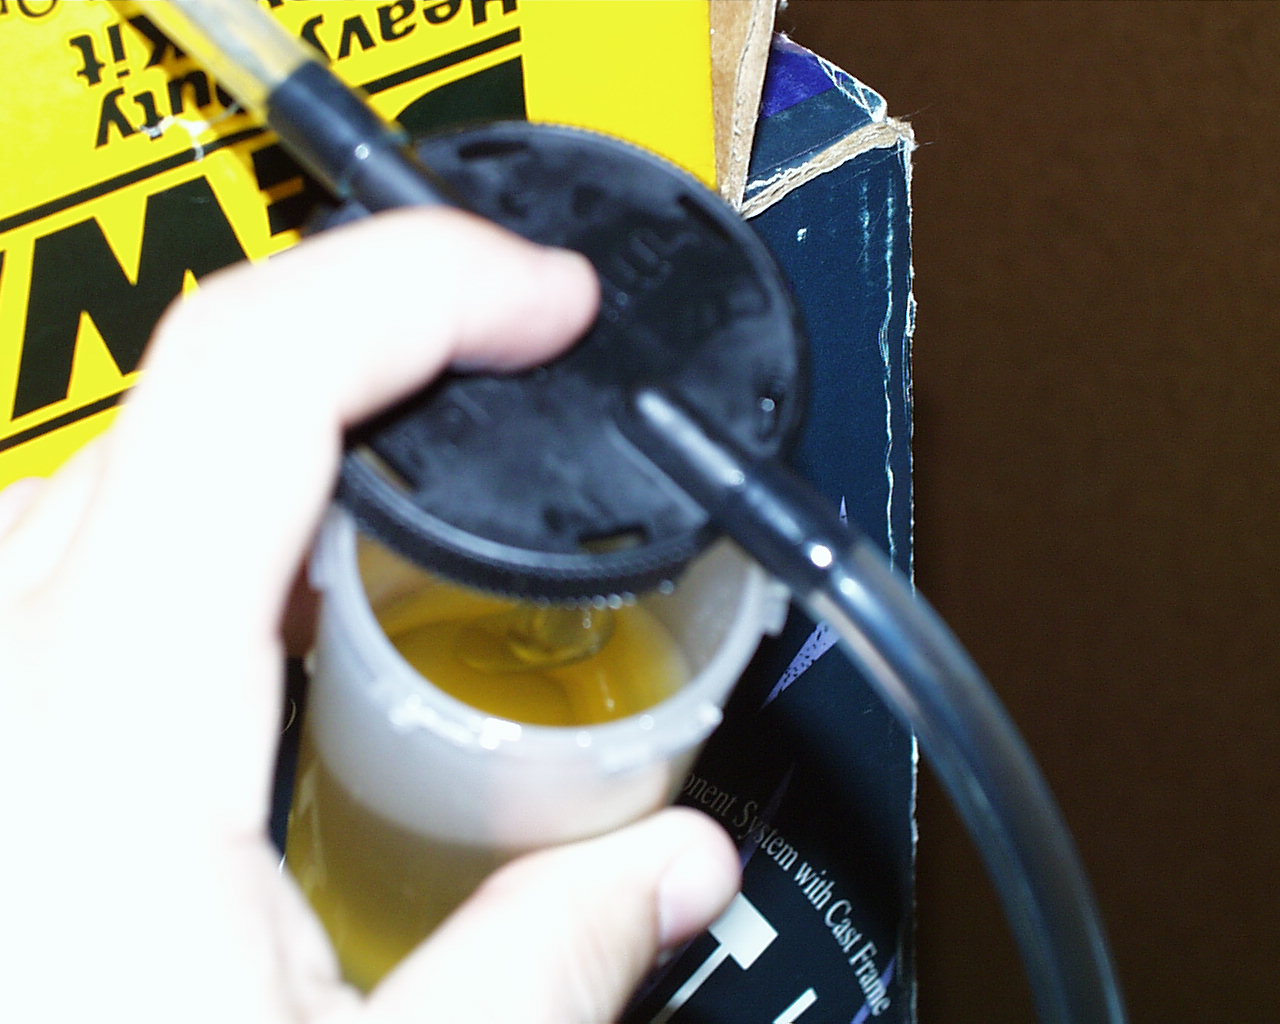
OK so now onto the second step. A little more complicated, but you’ll
get all the “trapped air” with this method. The M/C should be setup
exactly the same as in the first step. The only possible change would
be the size of the tube inside the Mity Vac’s vacuum container. This
picture does quite illustrate it so well but you need to connect the
tube that “almost” reaches the bottom of the container. If you were
already using that one, then you’re set. If not put that tube in now.
To start you’ll need to pump the Mity Vac quickly and build up 20 psi
of pressure as fast as you can. The Mity Vac’s container should be
filling fast. Wait till it hits about the halfway mark (the fluid level
needs to be at least an inch to an inch and a half above the bottom of
the tube so no air is sucked in). Once your fluid level is high enough
slowly pump the M/C’s clutch pedal rod in all the way and slowly let it
out. You’ll notice a ton of air released at this point. When you pump
the clutch pedal rod in, the fluid flows into the container rather
quickly. When you let the clutch pedal rod out it sucks whatever air
and fluid are in the the Slave Sim tube back in (this is why it’s
important to have the fluid level above the tube so no extra air is
sucked in). The Mity Vac will not be able to suck any fluid unless the
clutch pedal rod is completely released. Once the rod is back out the
Mity Vac will get all those air bubbles you just shook loose. (You can
use the trigger on the Mity Vac to quickly release pressure so your
fluid level does not go past the top of the Mity Vac’s vacuum
container) Continue to do this till you don’t see any more bubbles.
You’re 95% done now. However there is one spot where air can still
hide. To get these bubbles we have to change the setup a little bit.
First off remove the Slave Sim from the Mity Vac (We’re done with the
Slave Sim) and disconnect it from the hydraulic line. (The clutch pedal
rod should be rock solid and you’ll not be able to push it in with the
hydraulic line closed)
Remove the Reservoir tube from the container and reinstall the actual
reservoir. Now you need to find a way to hang it up so that it sits
vertically (I mangled a couple of coat hangers for this duty)
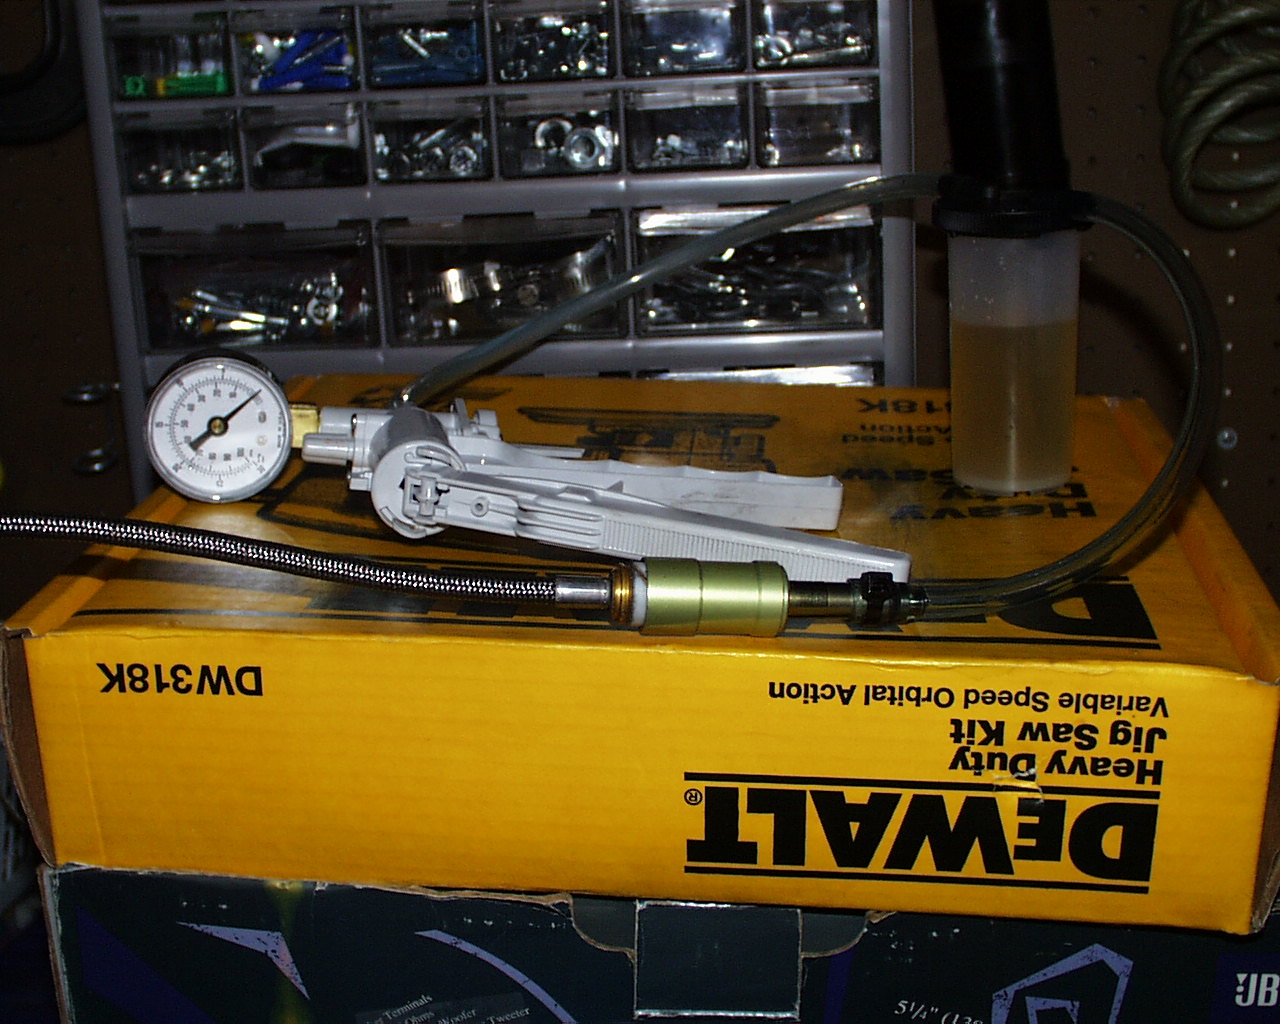
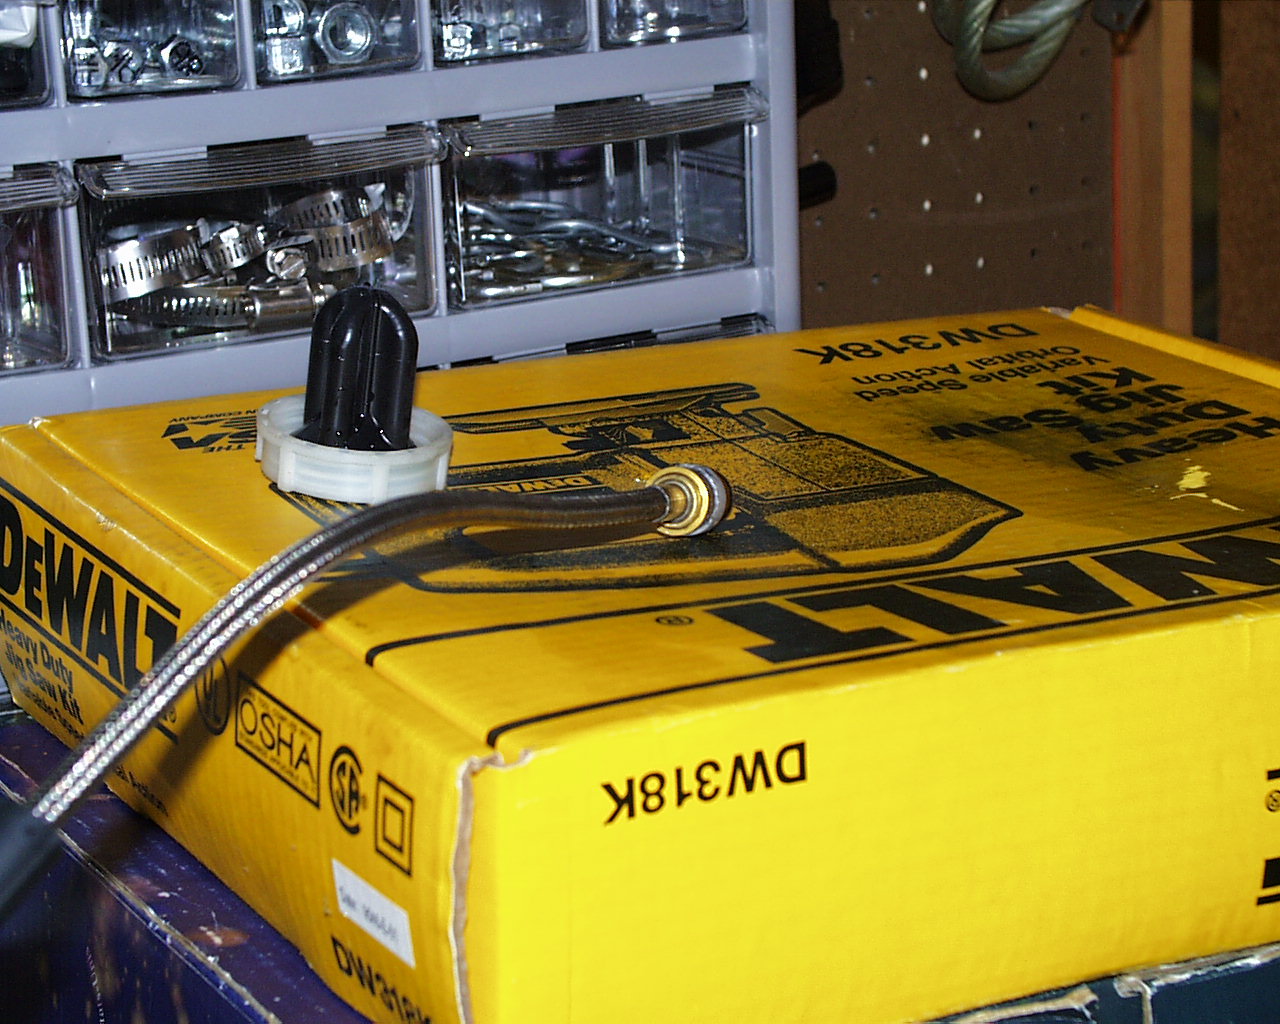
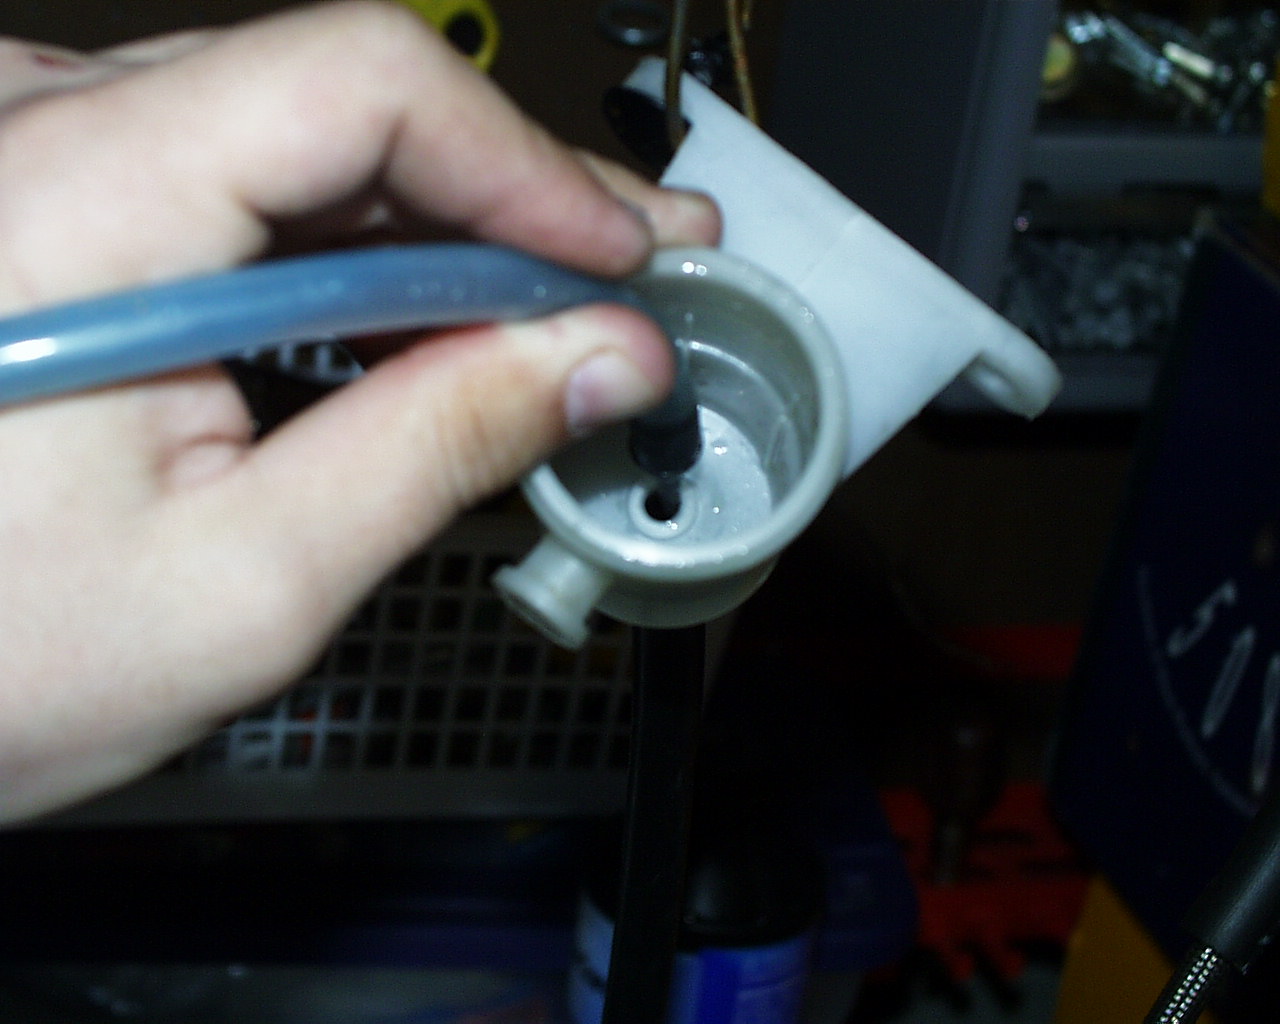
On the Mity Vac attach a different tube in place of where the Slave
Sim’s tube was attached. To that tube you need to find one of those
little nozzle accessories. You can see from this photo that it needs to
be one of the nozzles that look like a pencil tip.
As you can see from this picture, that nozzle has to fit “inside” the small hole at the bottom of the reservoir.
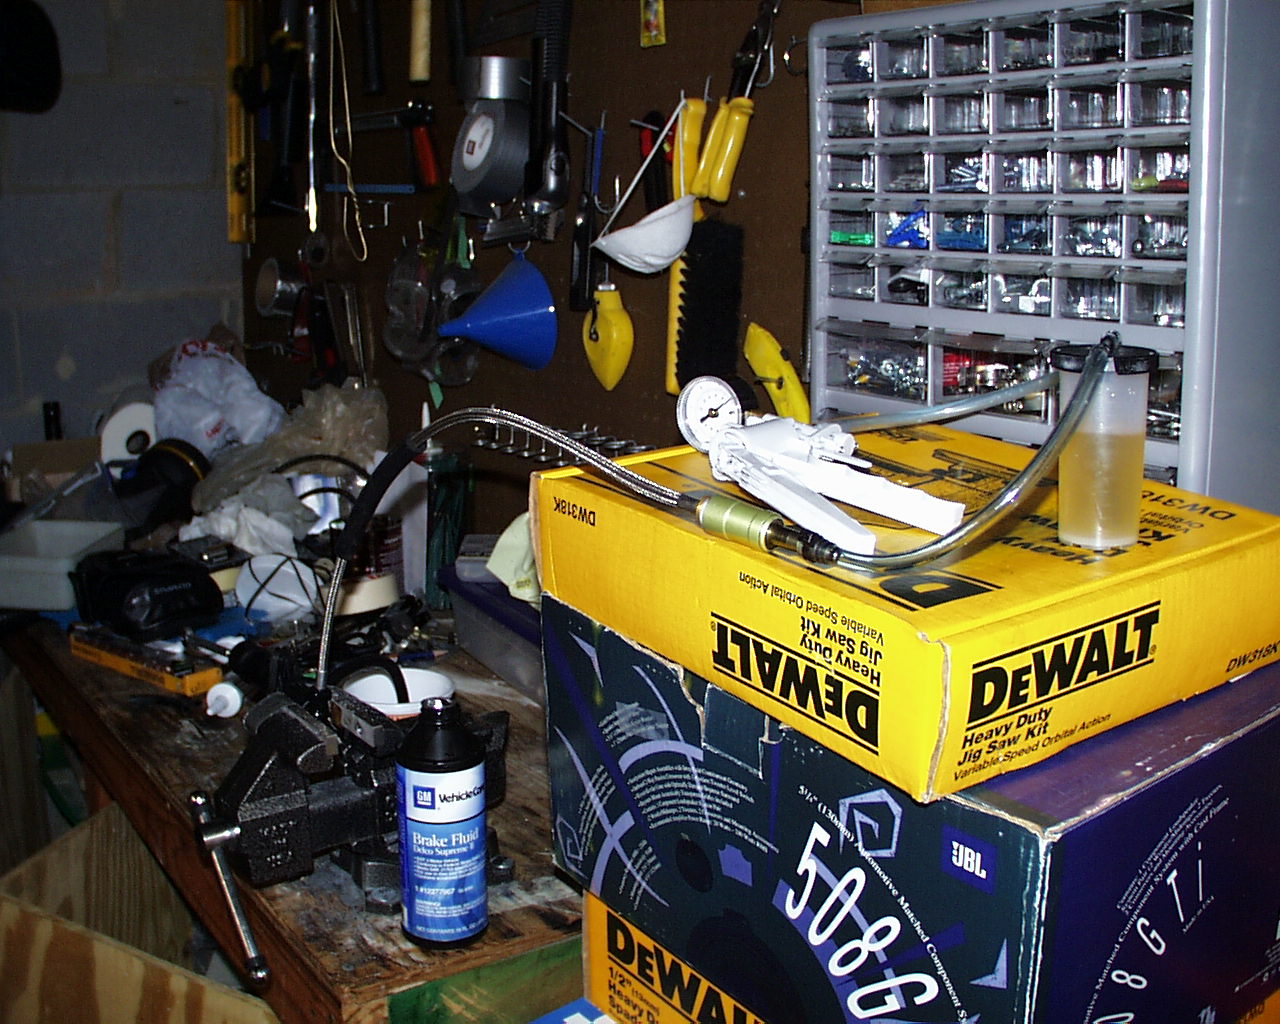
With your hydraulic line disconnected and closed and your reservoir
filled and vertically suspended you are ready for the Mity Vac. Before
inserting the Mity Vac be sure to fill the tube holding the nozzle with
brake fluid. You don’t have to fill it up all the way, but at least 4-5
inches worth of brake fluid in that tube (about the halfway mark).
Snuggly insert the Mity Vac’s nozzle into the small hole at the bottom
of the reservoir. Your setup should look something like this by now:
Pump the Mity Vac up to 20 psi and you might find a few bubbles pulled
out. Be sure the nozzle is snuggly in that hole; otherwise you’ll just
pull fluid out of the reservoir. I want to get any air that might be
trapped in the reservoir tube or inside the M/C. Once any bubbles are
pulled you can use the trigger to release the pressure and try it
again. Keep doing this till no bubbles are pulled. Be sure to always
keep at least 4-5 inches of brake fluid in the Mity Vac’s nozzle tube,
else when you release pressure air can get sucked right back into the
M/C.
That’s it! You’re done! Make sure the Reservoir is filled enough, put
your moisture lock back in and recap the reservoir. You’re M/C is now
ready to install. Assuming you’re slave is properly bled, then nothing
else needs to be done to the M/C and you should be able to just install
it and start bangin gears!
Contact buschman_007@yahoo.com
with questions or problems with this service.